Saturday 27 May 2017

Reviewing CONFLICT RHEINLAND

This weekend for the very first time CONFLICT RHEINLAND is taking place in Langenfeld. The city itself isn't too well known I presume but at least it's located between Düsseldorf and Cologne aka. the heart of the Rhine Area. Thus three reasons made a visit there mandatory for me:
- It's only an hour from the place I'm living
- Our club brings a AWI table to the show
- The fellows running the show are really decent fellows
Thus I headed the train to Düsseldorf at 07:00am where my friend Holger picked me up and took me to the club house where the show took place. After approaching Torsten and Thorsten the two major heads behind the show I met my THS club fellows at our table:

My friend Heinz prepared the table and most of the terrain and figures on it. It a AWI game based on some events during the Saratoga Campaign in 1777. Experimentally I made a short video of the British comun with my mobile phone:
Sorry for the poor quality. On the phone it was much better but after uploading it looks kind of downsampled... Anyway the tune you are hearing comes from a small gadget Heinz integrated in the scenery:
But besides ourselves there were some other clubs delivering interesting and exciting tables as well as wonderful participation games. Especially the Force on Force table caught my attention and finally I found an excellent introduction into this exciting game:
Hunt for Red October
Beginner's table Force on Force
Delta Force sneaking around.
But besides that there were more nice tables, good games and fine fellows. Here's a selection of pictures:
WW2 Operation Squad in 28mm
Whitechappel a detective tabletop about hunting Jack the Ripper
 

The Goulston Street grafitto
 
28mm Chain of Command
 
Bridge on the River Kwai with Poor Bloody Infantry
HeroQuest 3D
HYW with Saga
One of my current favourites: Congo


Team Yankee
15mm ACW Regimental Fire and Fury
28mm Sudan with This very Ground. The game I played at Tactica this year.
After all there were a couple of really excellent tables although the place of event was rather small with about 250m². But I saw people from Hannover as well as chaps from Karlsruhe which is a radius of 300km. In my humble opinion that's a great influence for a small show during its first year. From my point of view Torsten and Thorsten performed a sublime job organising this event and I dearly hope that for them it was as successful as for us visitors. If Conflict establishes itself it could become an excellent familiar show perfectly set between the gigantic players Tactica and Crisis. Best of luck boys!

Of course yours truly wasn't able to keep all the quids he brought. In Langenfeld were only a few local traders but nevertheless Didier's (More Terrain) work seduced me enough to acquire some pieces for Congo:
Alltogether a wonderful day and a real pleasure to visit the very first Conflict Rheinland Wargames Show. I really hope that many will follow!

1st Conflict Rheinland Wargames Show

Heading to Düsseldorf and Langenfeld then. This weekend there'll take place the first CONFLICT RHEINLAND wargaming convention. Some great participation games have been previewed so I'm looking forward to a good day out with my mates.

Tuesday 23 May 2017

African bearer - Congo figure and skin colour test

As I hinted at earlier the newish Congo game caught me somehow. Luckily has a low figure count only and I'm creating a British expedition with some of my 1880s Brits and a couple of additions. The setting of the game of course dictates that some native african figures matter.
Until now I havent painted any other figures than more or less Europeans or North Americans. Since I'm always a bit hesitant with experiments I decided to paint a native bearer before tackling Askari and Ruga Ruga units. The figure is a piece of Wargames Foundry's wondeful Darkest Africa range and as far as I know it's been sculpted by Mark Copplestone.
The figure is sculpted really well and especially the facial expression is very characterful. Only the muscles of the arms and legs could be defined more clearly to make painting easier, For the choice of colours I consulted a rather old article I found in the Cool Mini or Not homepage. It deals with skin tones for different ethnic groups and gives some excellent colour suggestions from Vallejo's Model Color range. For further reading find the article here.
After all I'm pretty satisfied with the look. Without any doubt I need to work on working out muscles but the skin tone is rather okay I think. It appears a bit too bronze coloured but darker shades would disappear when watched from gaming distance.

What do you think?

Monday 15 May 2017

Resin hardened, river finished

Actually the resin hardened as fast as stated on the bottle - namely in more or less 8 hours. However in my humble opinion the result is really satisfying. Especially because it was my very first workpiece with resin:
As you see it dryed cristal clear and provides nice depth to the river. Overall I didn't discern significant shrinkage. Only the edges became slightly bent up.
Yesterday I fetched my trusted rowing boat and took a couple of shots. Unfortunately as poorly illuminated as the former pictures:


After all using the two-component resin was much easier to use than I was feared. Especially the 2:1 mixing ratio is simple to handle. Now I'm pondering about using some water effect gel like Noch Wassereffekte or Woodland Scenics Water Effects to represent ripples and waves...

Thursday 11 May 2017

River with resin water

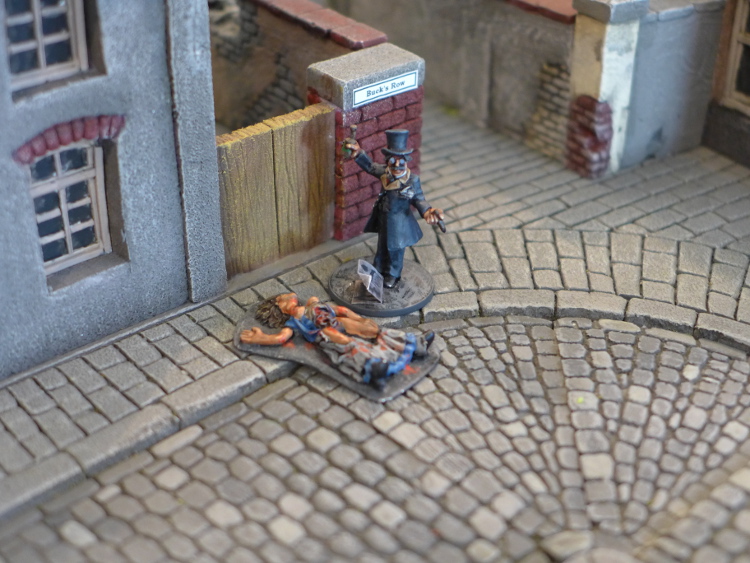
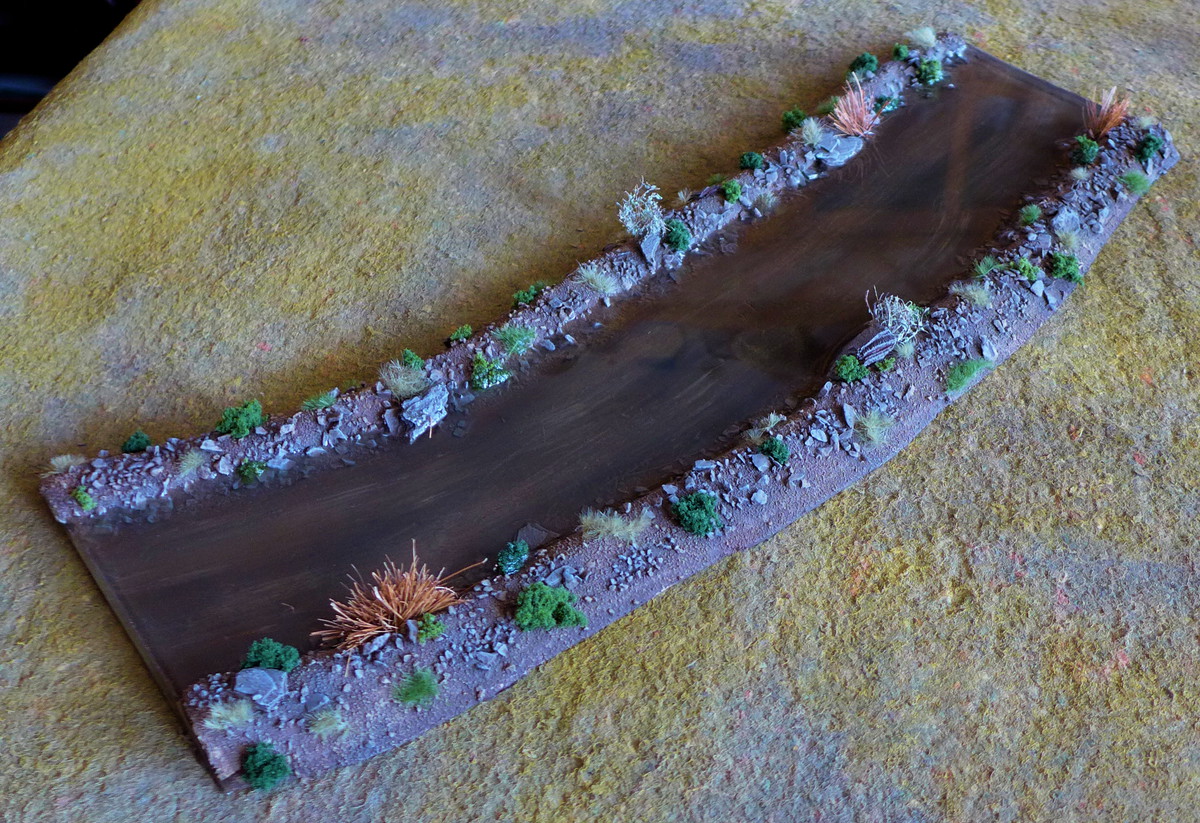
During the last weeks I've been working on a couple of things: Some more Black Plague survivors, some tribesmen and Brits for Northwest Frontier and a nearly forgotten project of mine: A river.

Actually the realisation of the issue came together by chance. Somehow some pieces of MDF I acquires months ago fell into my hand just in time when peripatetic Mrs Monty spend a couple of days by the sea with those Janus-faced creatures yours truly calls his beloved daughters. However buoyant, joyful and frivolous as I was I collected my trustworthy jigsaw and decided to bring this long procrastinated project into being. A far reaching decision as you will discover later.

Initially things started easy. The MDF board was literally cut into shape in no time. The river banks were constructed of 10mm polystyrene, shaped with our Crème Brulée torch and covered with two layers of plaster bandage. A mix of sand, gravel, pine bark and PVA glue made it a reasonable structured riverside than :

Now I had to decide whether to target for blueish water or to emulate a muddy, brownish river. After some pondering and a series of two experiments I opted the dirtier version. In my humble opinion it looked more credible and it appeared more useful for my ongoing NWF and Congo projects:
After the embankment was humbly colored and planted yours truly had to decide how to recreate the river itself. Robert, a friend of mine and well-known contributor in the Lead Adventure Forum as 'Steam Flunky', designed a awesome 15mm with a river of resin running through it. Since I caught sight of this piece of art I was keen on creating a resin river myself. Thus I consulted a specialist dealer for epoxy resin and saturated polyester resin. The truly kind and helpful salesmen there suggested a two-component epoxy resin called 'Resinpal 2416'. Thus I ordered about three pounds of the stuff and prepared the piece for pouring:
From various online tutorials and Youtube videos I learned that sealing the mould is absolutely essential. Thus I created two clasp pieces for both ends of the terrain piece. They are made of a slat of wood, a strip of sponge rubber and a thin layer of plastic film. The idea was to create a piece which is able to carry pressure (wood), to cling to small irregularities and to provide a surface the resin would not stick to.

After that the resin was to be mixed. Fortunately this Resinpal 2416 needs a very comfortable ratio of 2:1 meaning two pieces of resin and one piece of hardener. Yours truly calculated 225g of material needed to cover the riverbed with 5mm implying 150g of resin and 75g of hardener. No problem with Mrs Monty's trustworthy kitchen scale.
Because I wanted a rather muddy river I added some - namely 15 - drops of Armypainter Quickshade 'Strong Tone' and produced a clear but brownish liquid. Then finally the moment of truth came and the resin was to be poured into the carefully prepared river bed. Please join my and be eye witness of the exiting moment:

Afterwards the most exhausting hours came. The resin had to set and to harden. How would the resin set? Would it really harden dry and non-sticky? Would it remain clear?

Questions over questions... Stay tuned.